
How Blockchain uses Cryptography
Blockchains make use of two types of cryptographic algorithms, asymmetric-key algorithms, and hash functions.

Gary Woodfine
Back-end software engineer
Blockchains make use of two types of cryptographic algorithms, asymmetric-key algorithms, and hash functions.
Gary Woodfine
Back-end software engineer
Blockchain is a shared ledger, allowing thousands of connected computers or servers to maintain a single, secured and immutable ledger
Gary Woodfine
Back-end software engineer

The key concepts and technologies that form the basis of the evolution of a global monetary system.
Gary Woodfine
Back-end software engineer

WebSockets are a bi-directional, full duplex communications protocol initiated over HTTP. They are commonly used in modern web applications for streaming data and other asynchronous traffic.
Gary Woodfine
Back-end software engineer
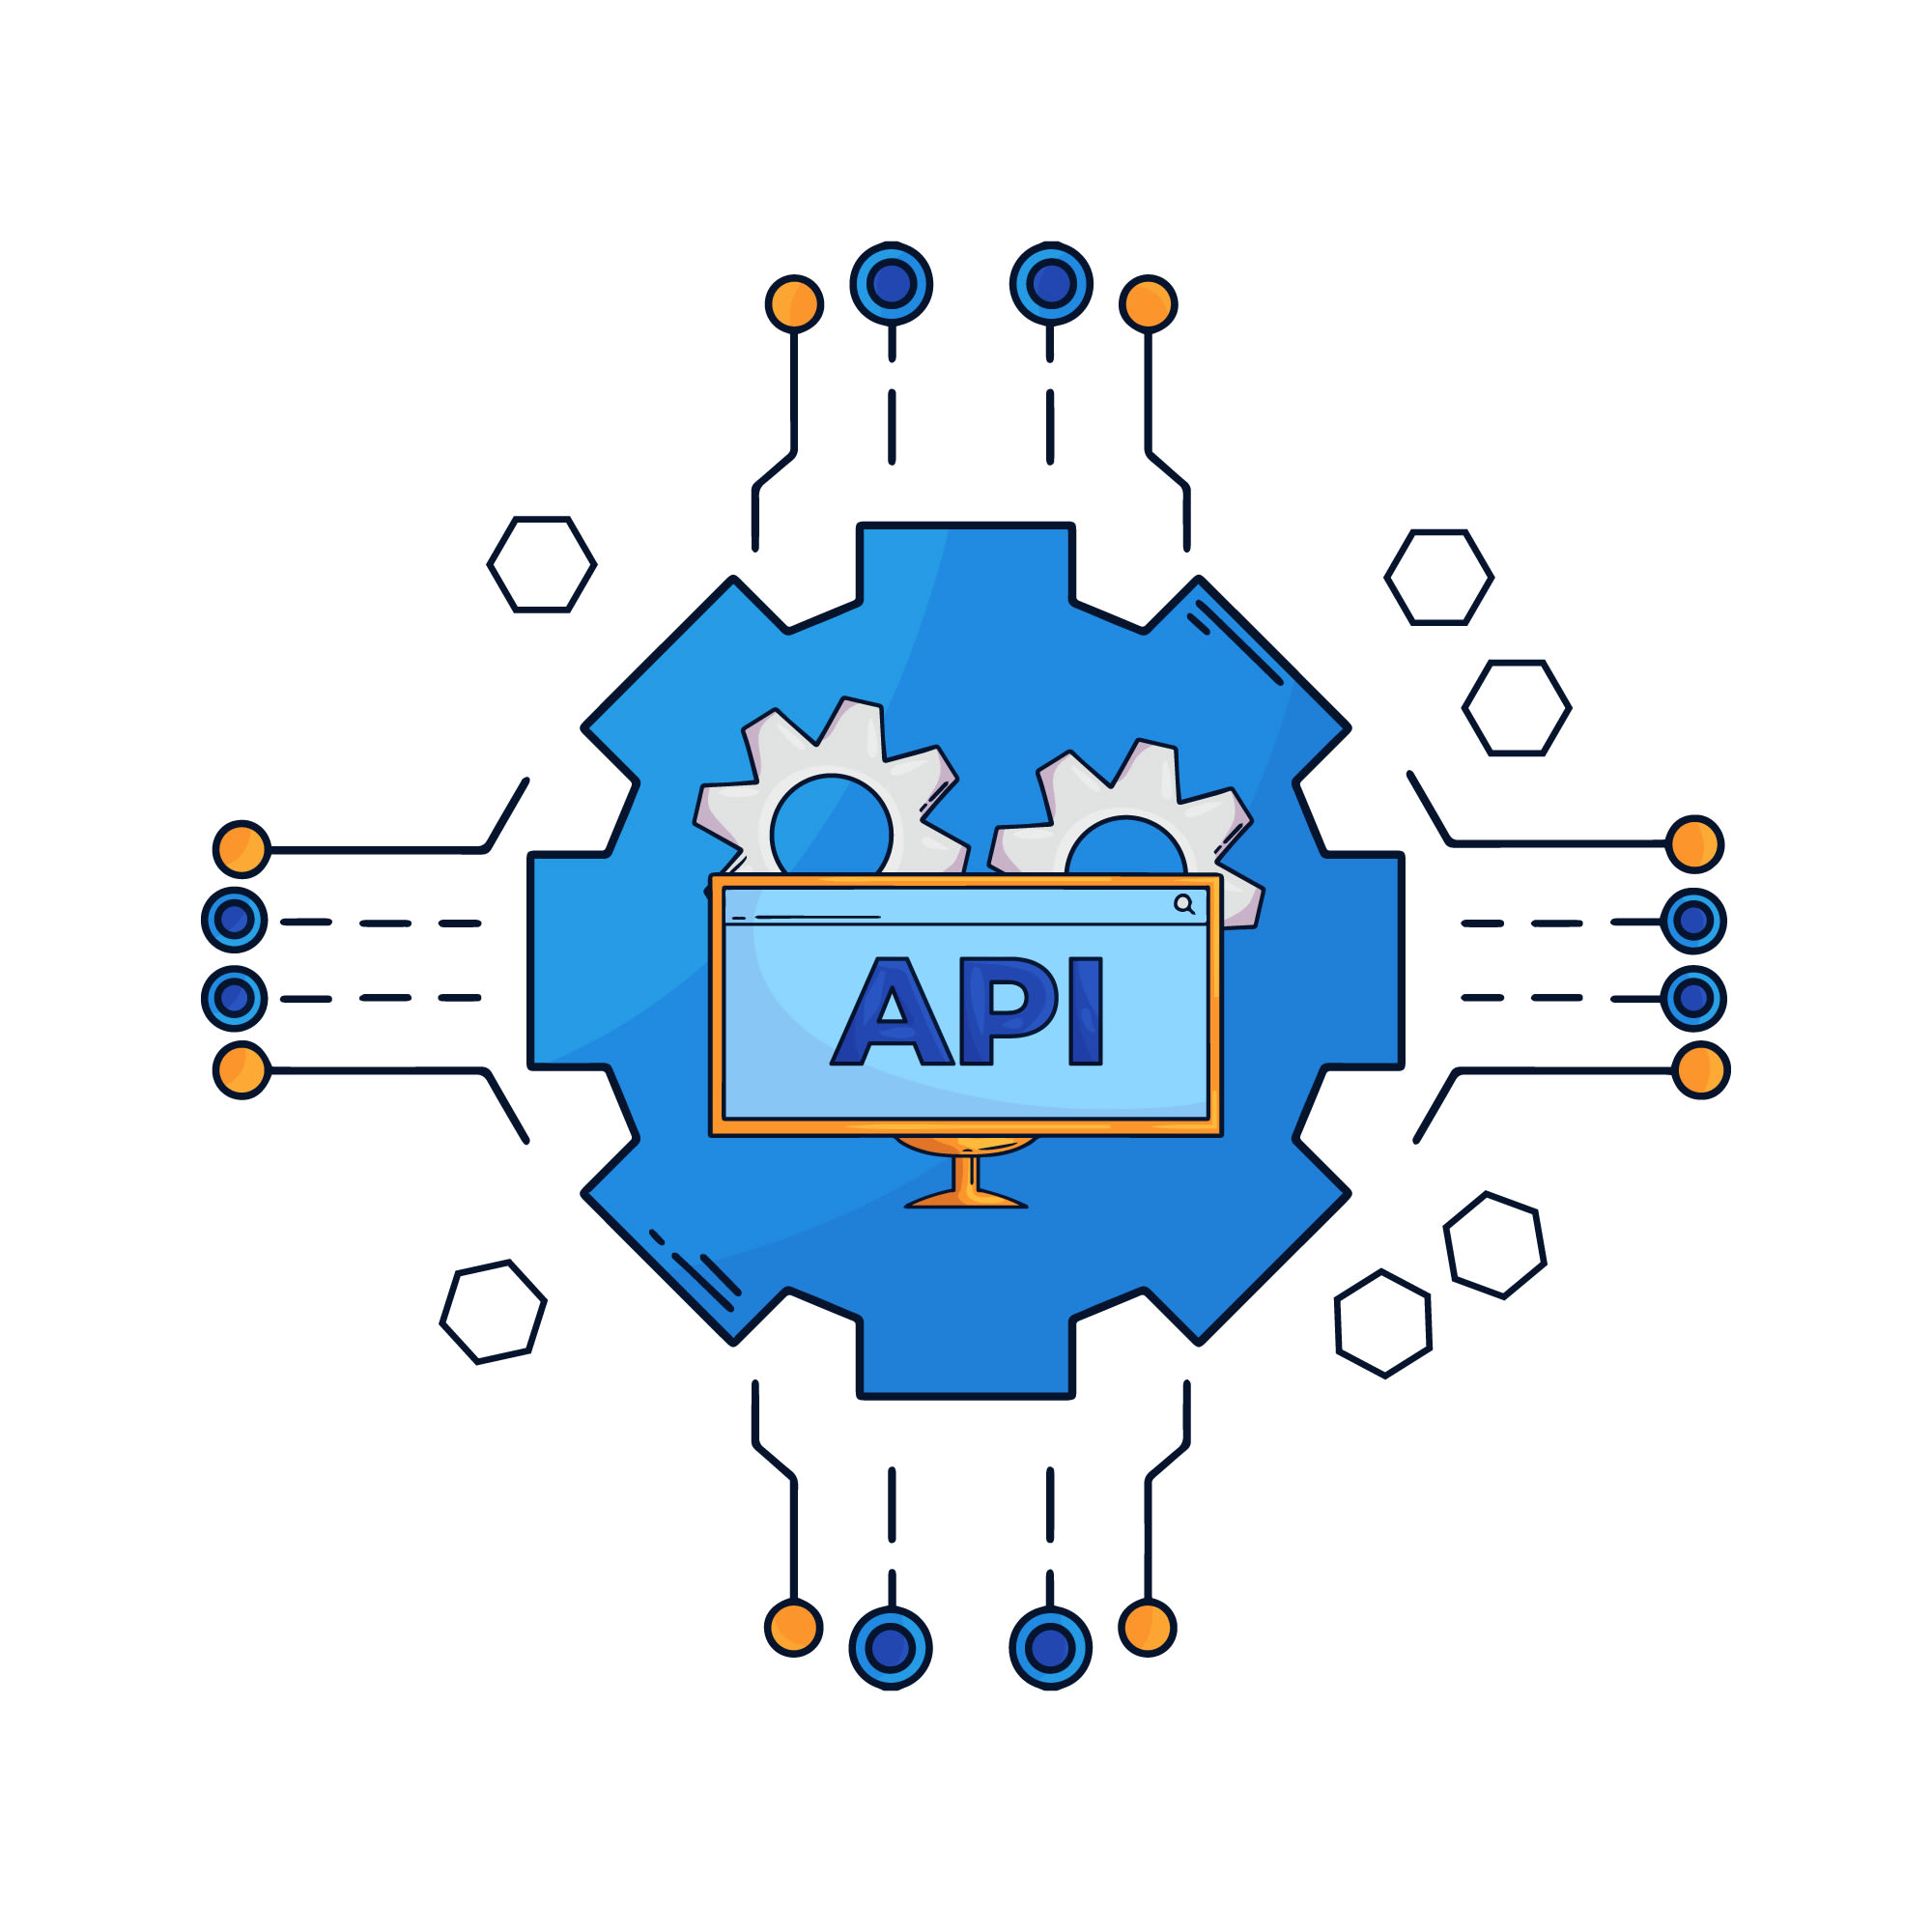
What is API First? Discover how developing your API first will enable developing better and more products of your organization.
Gary Woodfine
Back-end software engineer
Understand the uses of the API gateway pattern and when to use it in API Development to provide a single-entry point for groups of microservices.
Gary Woodfine
Back-end software engineer

The backend for frontend (BFF) is a software architecture pattern relevant for microservices & domain-driven design to simplify the communication between the frontend and backend
Gary Woodfine
Back-end software engineer

threenine.co.uk cover introductory concept, terminologies & technologies related to API development in order to gain a basic understanding.
Gary Woodfine
Back-end software engineer

A REST API is an API that conforms to the design principles of the REST, or representational state transfer architectural style. For this reason, REST APIs are sometimes referred to RESTful APIs.
Gary Woodfine
Back-end software engineer
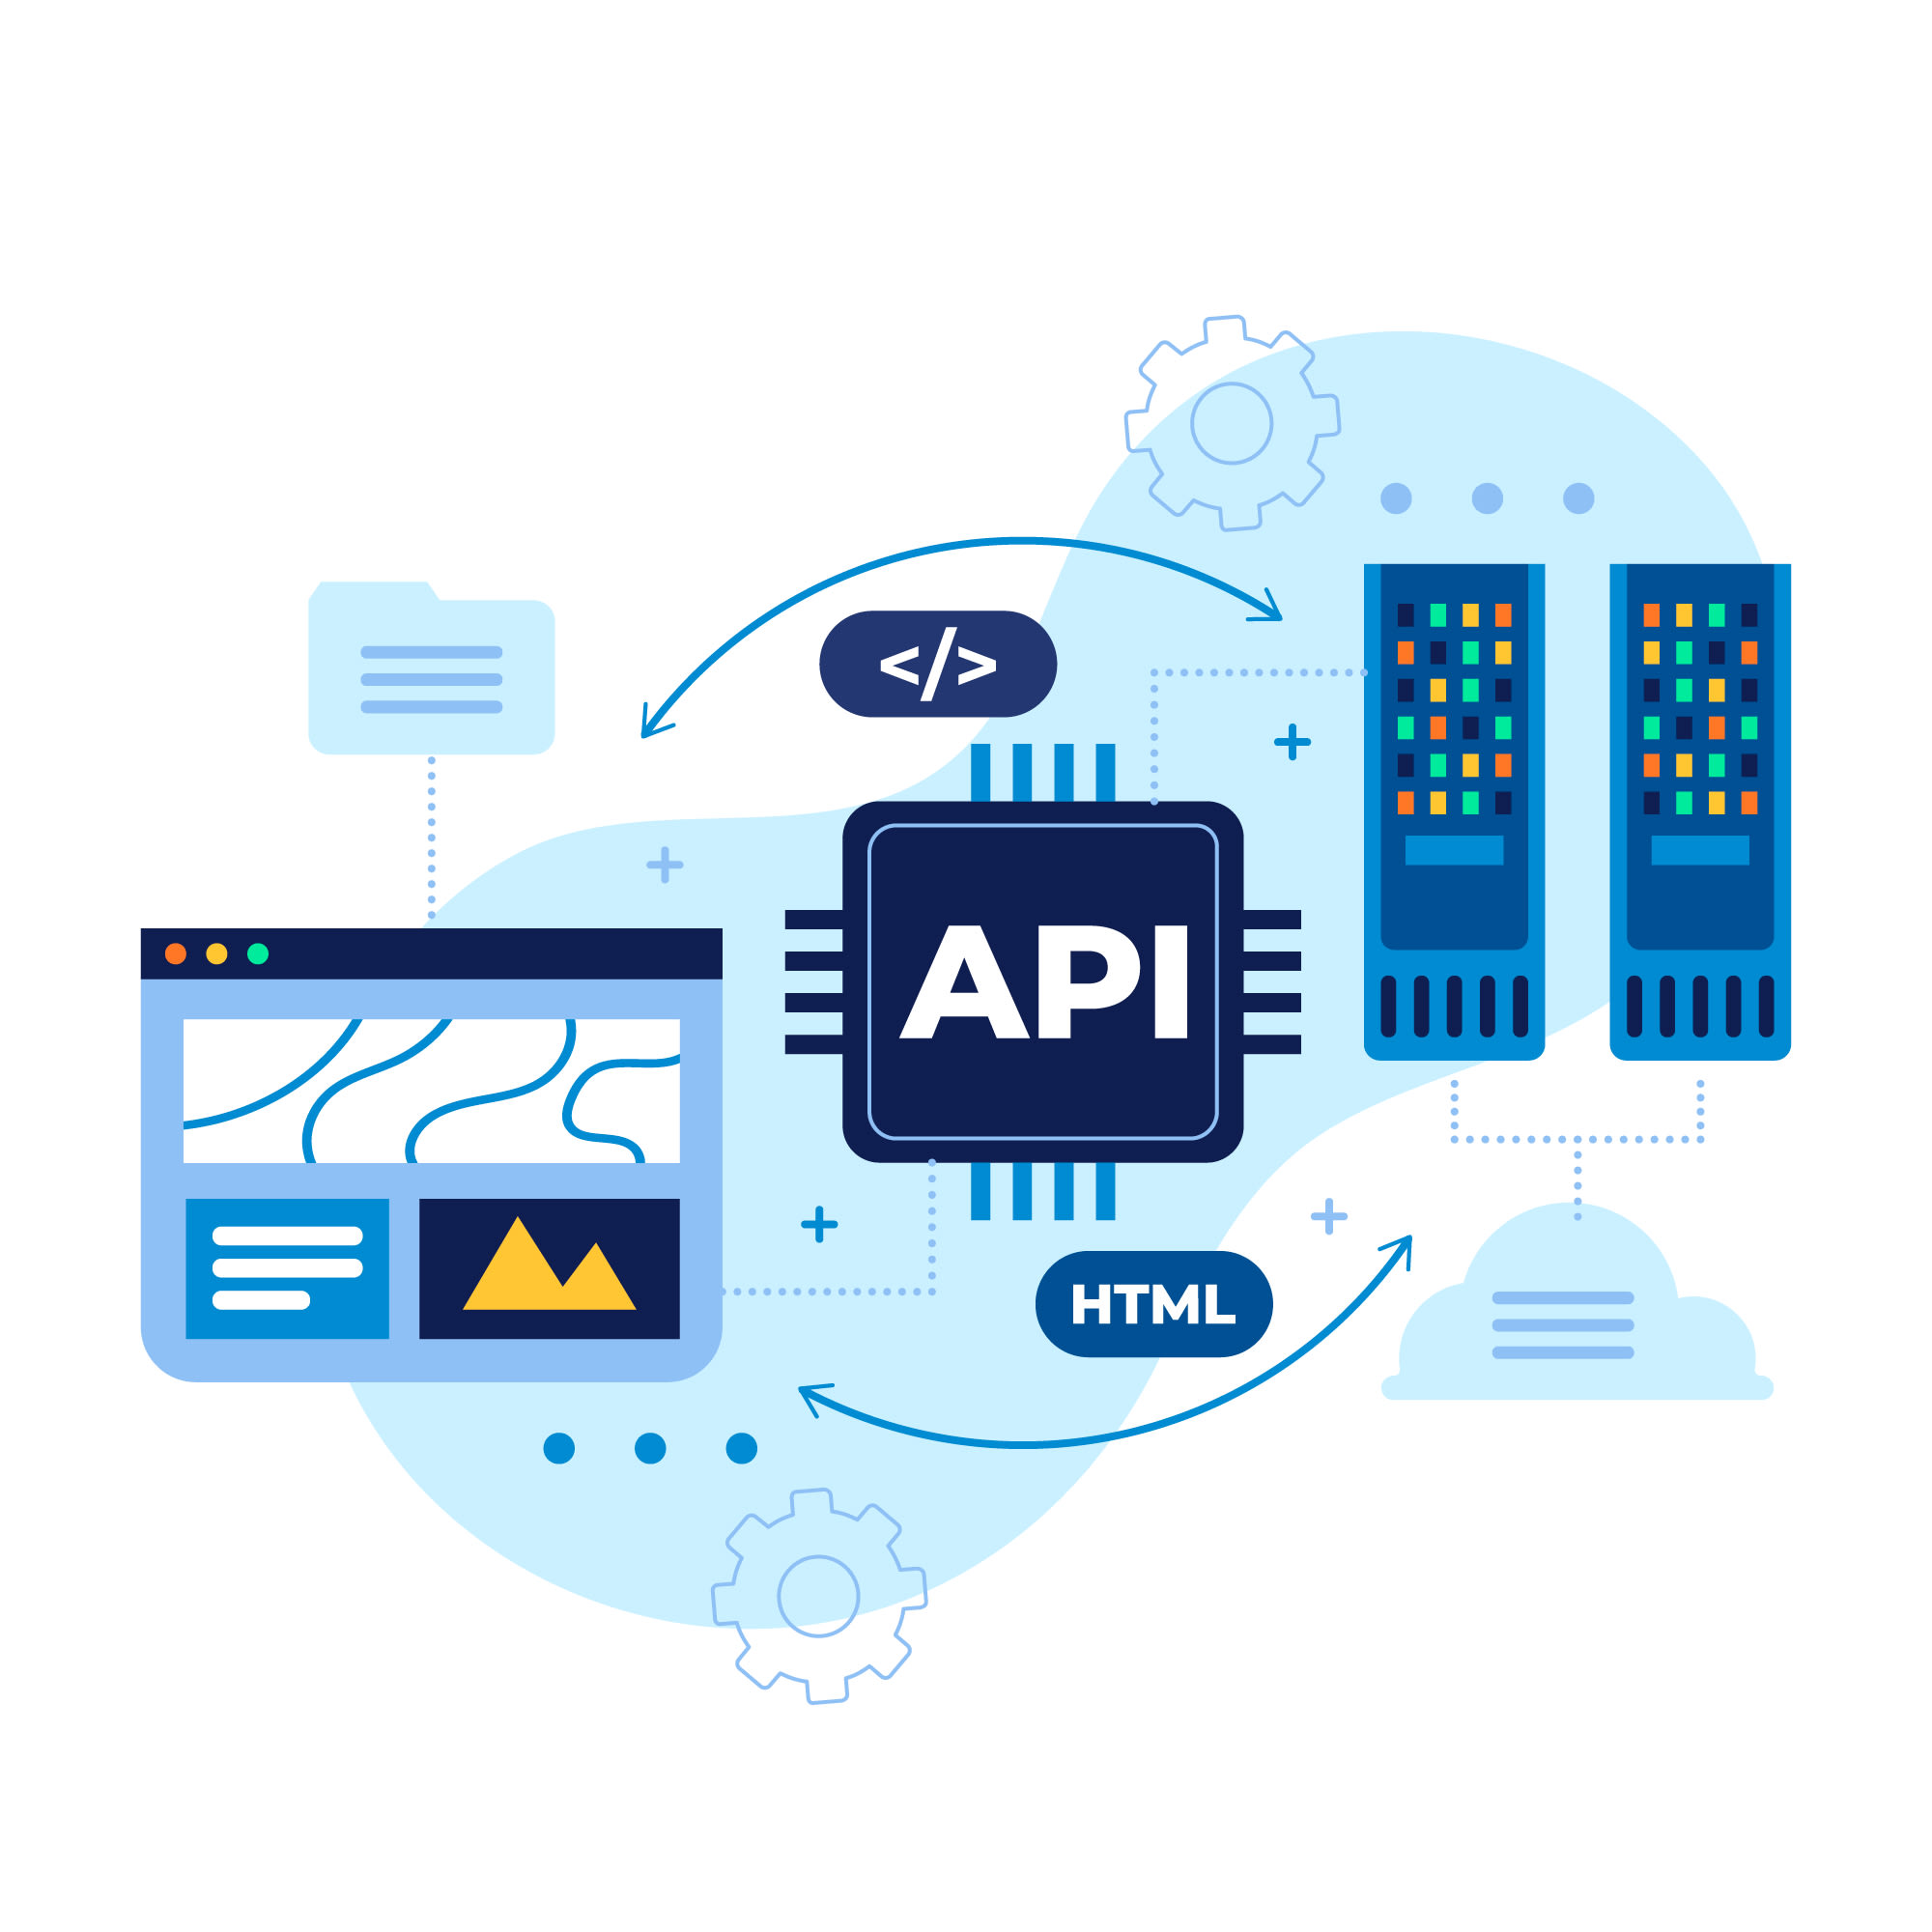
API stands for Application Programming Interface. The application can be any software that performs a specific task and the interface is a point where two applications communicate. One application acts as a client and the other acts as a server.
Gary Woodfine
Back-end software engineer